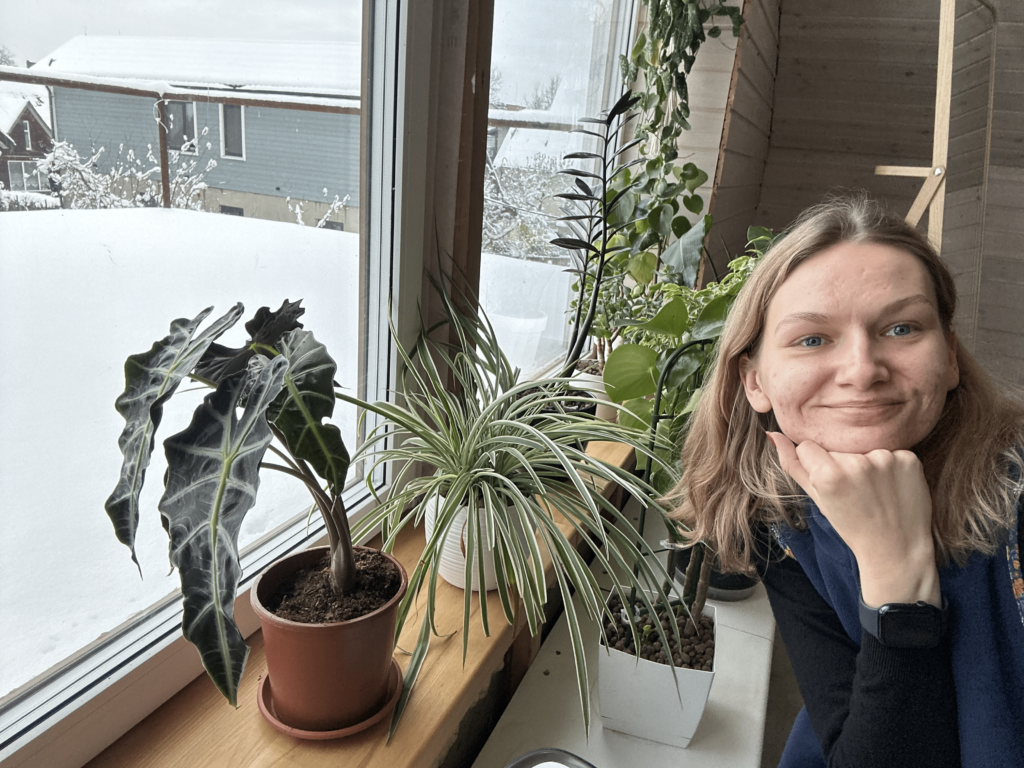
Hello, garden enthusiasts!
I’m Meda, an agronomist ready to share with you 5 steps to repot houseplants. Over my lifetime, I’ve repotted maybe more than 100 plants, and now I’m ready to share the tips that have worked best for me.
Well, if you know how to repot houseplants but have issues with indoor plant care, I encourage you to read this blog post “10 Tips for Caring for Houseplants During the Winter Season.”

1. Choose the right pot
Before buying a pot, it’s important to consider three things:
- Pot size. Choose the pot size based on the root system of the plant you have. This means that when repotting, the plant’s roots should fit in it with some space left. If you have an old pot, you can measure it and choose one that’s two fingers taller and wider.
- What materials is it made of? Pots are usually made of clay, plastic, or metal. Plastic ones are good because they are lightweight, so I would plant larger plants in them. Clay ones are heavier but can absorb moisture, which they later release to the plant. I plant in them those plants that I can easily carry. Also, clay can look nicer in the interior. Metal ones can heat up a lot on a hot day and dry out the soil quickly, so I don’t choose them at all.
Does it have a hole with a saucer? Well, this needs to be considered, especially for those who often overwater plants. It helps regulate watering, and excess moisture will drain into the saucer. It’s true that many clay pots don’t have holes, which is a problem, but it can be solved with a drainage layer, which I’ll talk about below.

2. Add drainage
If you asked what mistake I often made earlier when repotting plants, I’d say it was not using drainage. Because of this, my plant leaves would start to brown, roots would rot, and the plant would die. You can buy drainage from a garden store (like this one) or you can use pebbles. The drainage layer depends on the pot size, but it’s best if it’s at least 3-5 cm.
If the pot has a saucer, you might not need to use drainage, but in my experience, plants feel better when drainage is used.

3. Preparing the substrate with magical ingredients
Speaking of substrate, I used to buy substrates suitable for specific plants. However, as the number of plants grew, it became financially unfeasible, and I discovered the perfect substrate recipe:
1. You need a universal substrate, which contains not only peat but also compost.
2. If the purchased substrate doesn’t contain agroperlite, you need to mix it in.
3. Since plants on the windowsill dry out very quickly in the summer, I add water crystals to the substrate, which absorb moisture and release it later.
4. For longer plant feeding, I add “Osmocote” fertilizers, which work for at least 3 months.
I choose the quantities at my discretion, but for the first time, I recommend reading what the manufacturers suggest on the package.


4. Using bacteria
When plants are repotted, I usually water them. What water is best to use? I encourage you to read this blog post, where you’ll find tips not only about water but also about other plant care mistakes.
Since my houseplants were very neglected in the fall and winter, I decided to pamper them with probiotics. In agronomy studies, I learned that bacteria can work wonders with agricultural plants, so I’m thinking of trying them on houseplants. I chose “TROOP Activacion” – a gentle, natural bacterial product aimed not only at restoring soil but also at reducing plant stress.
You need very little of it, but after using it, the plants revived, turned green, and even my strelitzia started to grow a new leaf. I believe this is no coincidence! It’s not a necessary step, but if you want to pamper your plants, I highly recommend natural products with bacteria.

5. Decorate with drainage
Did you know you can use the same drainage you used at the bottom of the pot on top of the pot as well? What’s the benefit?
- It looks much nicer.
- It prevents soil from splashing when watering.
- The drainage absorbs more moisture and releases it into the soil when it dries out.
The only downside I see is that it’s hard to tell if the soil has dried through it, but my wooden stick trick will help. Read more here.

That’s all. If you have any questions, feel free to write on Instagram, where I also share my experiences. And if you want this plant journey to be more comfortable and enjoyable, I’ll always be waiting for you at “Garden Mood” shop. Of course, don’t forget to read other blog posts, where you’ll discover new topics from my agronomy experience every month.
Good garden mood!
Meda, founder of “Garden Mood”